
 Newsletter: join thousands of other people
Once a month we'll send you an email with news, research and thoughts, as well as training courses and free webinars you may wish to attend.
Our websites:
Posted by Craig Mill on the 8th March, 2019

Next January in 2020 Microsoft will officially stop supporting Windows 7. For those local authorities and schools who have not yet updated to Windows 10, there will be an impending need to do so, to avoid potential security risks.
Like many others at the time, I liked Windows 7 for its reasonable stability, simple menu bar which made it easy to navigate and particularly ​the Ease of Access tools which introduced new accessibility features such as basic word prediction within the newly designed on-screen keyboard.
Since its initial release in 2015, Windows 10 has made significant enhancements to its flagship operating system (it is quicker to start up and is generally faster to use), particularly in relation to the updated and improved accessibility tools which are built into the operating system.
In the new streamlined Ease of Access Centre, there are 3 noteworthy tools that can help to support learners with visual difficulties:
Located in Ease of Access and Display, Make everything bigger is essentially a scaling tool which increases the size of items on the desktop such as text on menus, buttons, icons/apps as well other programs such as the Ribbon in Word and Microsoft’s browser, Edge.
Make everything bigger, isn’t new, it was available in Windows 7; Make it easier to read what’s on your screen, which allowed the screen settings to be magnified or scaled up to 150%.
By comparison, Make everything bigger, can scale up to 175%, is quick and easy to set up, and has both impressive font and image smoothing (no pixilated fonts or images) even when it is scaled up to the maximum 175%. Additionally, there is no ‘lag’ or screen ‘
.png)
Select Start (Windows logo Start button) > Settings (Gear-shaped Settings icon) > Ease of Access > Display. Or simply type ‘Make everything bigger’ in the Windows Search box.
Windows Magnifier is still available, but despite having an upgrade in font smoothing text can appear pixilated at both low and high magnification. Make everything bigger, at least to me, seems to be more intuitive and easier to use than Windows Magnifier.
.png)
To start Windows Magnifier press and hold the Windows & + keys.
If a learner finds it difficult to see things on the screen,
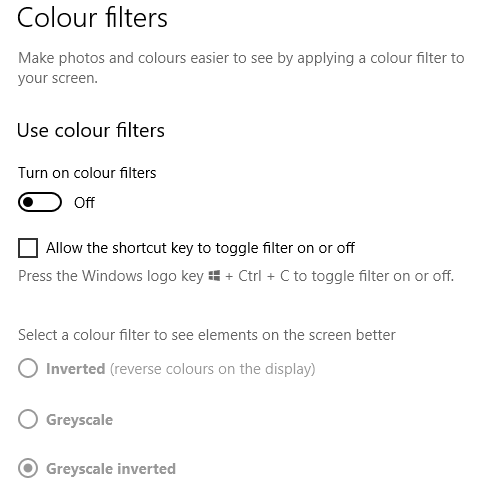
The illustration below compares Inverted and
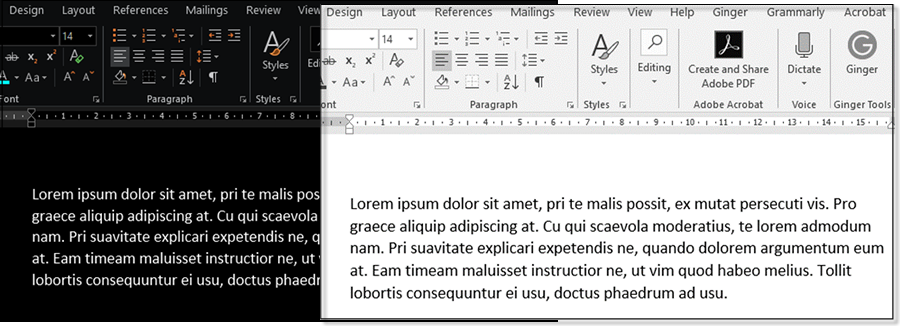
The ‘Inverted’ setting is not too dissimilar from the long-standing ‘High Contrast’ but it is fixed and does now allow for any additional personalisation.
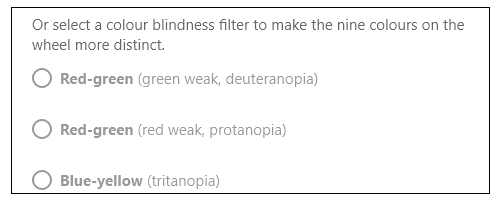
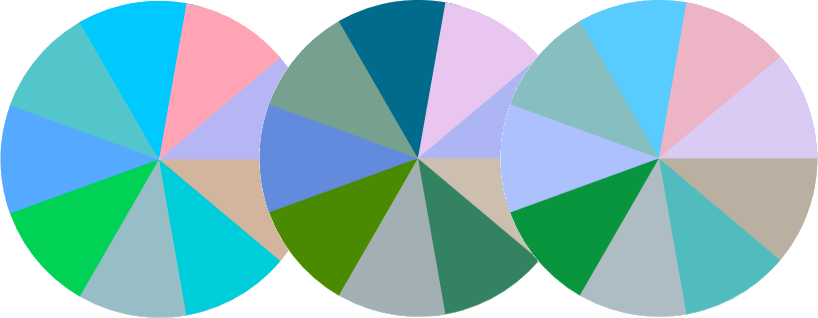
There are also ‘colour blindness’ filters which use a colour wheel to highlight the subtle differences between each colour.
 ​
​
Red-green (green weak, deuteranopia) / Red-green (read weak, protanopia) / Blue – yellow (tritanopia)
Select Start (Windows logo Start button) > Settings (Gear-shaped Settings icon) > Ease of Access > Colour filters. Or simply type ‘Colour filters’ in the Windows Search box.
If a learner requires greater personalisation the High Contrast offers 3 different themes to get started and options to customise high contrast colours to reflect indvidual preferences.

Select Start (Windows logo Start button) > Settings (Gear-shaped Settings icon) > Ease of Access > High contrast. Or simply type ‘High contrast’ in the Windows Search box.
Narrator is another accessibility tool which first appeared in Windows 2000 and remained more or less the same with newer versions of Windows such as XP, Vista and Windows 7. Narrator was intended to be a basic screen reader, but it was very limited and there wasn’t a great deal you could with it.
However, with Windows 10, Narrator has been given a significant upgrade and now features a range of improvements such as:
Examples of Narrator options below:
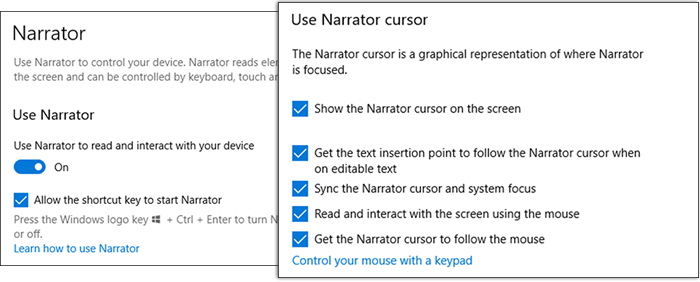
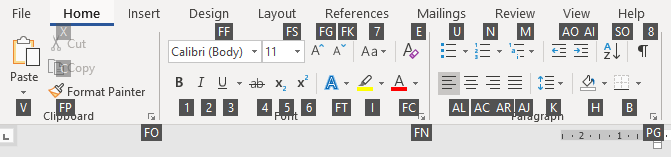
Narrator can be used in Microsoft Word and other text-based programs to write and read information. For example, in Microsoft Word, Narrator can be set to read aloud, characters and/or words.
Narrator will also read information on Word's Ribbon, allowing users to navigate, edit and save information by using different keyboard shortcuts, (via the Narrator Cursor) for example; ​Alt + F (File options), Alt + H (Home section of Word's Ribbon).
Narrator can also be used alongside other Windows apps such as the Edge browser and works with the Scottish voices.
Select Start (Windows logo Start button) > Settings (Gear-shaped Settings icon) > Ease of Access > Narrator. Or simply type ‘Narrator’ in the Windows Search box.
Although you can use each of these tools independently, try experimenting by using two or more in combination with each other. While I realise there are dedicated magnification and screen reading software programs available to buy, these built-in tools offer a quick and easy way to tweak, customise and personalise the Windows Desktop at no extra cost.
Once a month we'll send you an email with news, research and thoughts, as well as training courses and free webinars you may wish to attend.
Our social media sites - YouTube, Twitter and Facebook